You don’t have to choose between overpaying for simplicity and overworking for control. Coolify and Docker give you the managed-platform experience on a server you own.
Shipping a SaaS is hard enough without the constant worry of a “surprise” bill from your hosting provider.
I have seen developers start on a managed platform and find that as soon as they add a second team member or cross a bandwidth threshold, their costs jump.
Stuck between two bad options
You are stuck choosing between paying a “convenience tax” that eats your margins and spending your weekend fighting Nginx configurations and manual SSH commands. It feels like you are either overpaying for simplicity or overworking for control.
The lock-in problem
It gets worse when you realize most managed platforms are wrappers around the same open source tools you could run yourself. You are paying for a pretty dashboard and an easy git-push flow.
When you try to leave, you find yourself deep in vendor lock-in. Your databases, environment variables and build pipelines are all tied to a proprietary ecosystem. If the platform goes down or changes its pricing, your business is at the mercy of their support team.
A better way
Coolify combined with Docker gives you the same developer experience as high-end managed platforms, but on your own infrastructure. You get the one-click deploy feel and a clean dashboard while keeping full control over your servers.
If you want the business case first, I make it in why I ditch expensive cloud providers for self-hosted SaaS. This guide is the hands-on build.
Why the cloud is getting more expensive
Early on, a $20-per-month plan feels reasonable. But as you grow, those costs multiply instead of adding up.
Many platforms now charge per seat. With a team of five engineers, you might pay a hundred dollars a month before you deploy a single line of code.
Usage fees you can’t predict
Then come the usage fees. Bandwidth, image optimization and serverless function execution costs are often opaque and hard to predict.
What owning the server changes
I have seen stacks move from managed services to a self-hosted Coolify setup and cut the monthly infrastructure bill by about ninety percent, with the same performance and reliability.
When you own the server, you own the resources. There are no “hidden” charges for extra build minutes or database connections.
What exactly is Coolify?
Think of Coolify as an open source, self-hosted version of Heroku or Vercel. It is a control plane that sits on your server and manages everything for you.
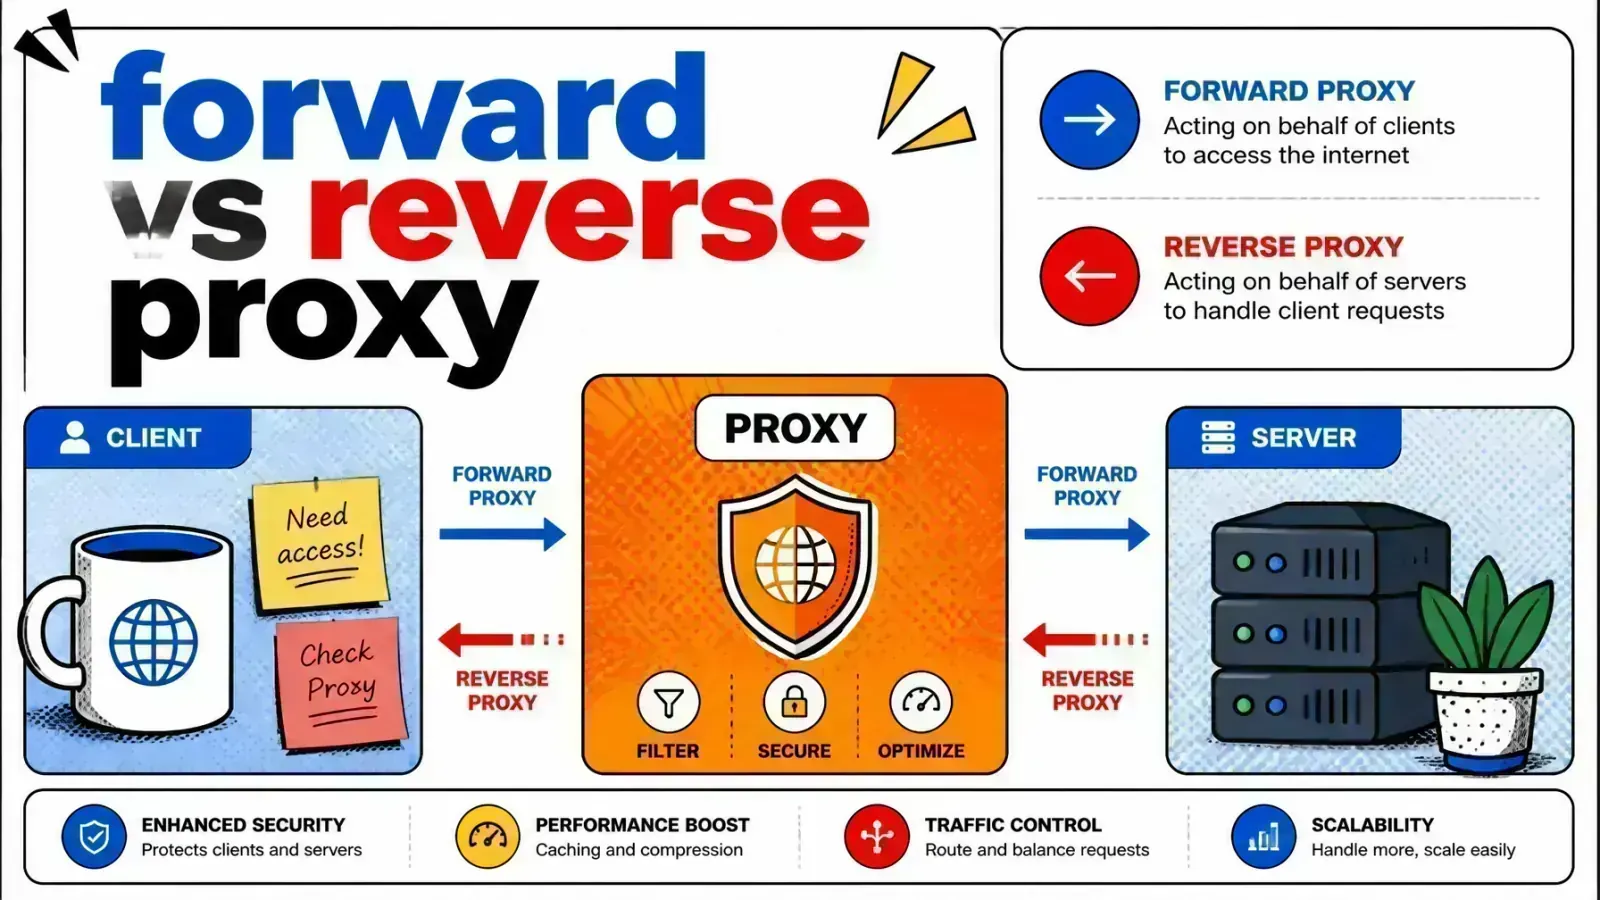
It handles your deployments, your reverse proxies, your SSL certificates and your databases. It turns a raw Linux VPS into a full hosting platform.
Built on Docker
Coolify is built on Docker, so every application you deploy is containerized. Your environment stays consistent across development, staging and production.
No more “it works on my machine” excuses. If it runs in a container on your laptop, it will run the same way on your Coolify server.
Why Docker containerization matters
Docker is the quiet engine that makes this whole workflow possible. Instead of installing PHP, Node.js or Python directly on your server, you package them into a container image.
That gives SaaS founders several key benefits:
- Isolation. Each app runs in its own sandbox. A memory leak in one app won’t crash your entire server.
- Portability. You can move your containers from Hetzner to DigitalOcean to AWS in minutes.
- Version control. Your infrastructure is defined as code. You can version your Dockerfile just like your application code.
- Scalability. Adding more instances of your app is as simple as spinning up another container.
Easy handoffs
I use Docker on every build I ship. It makes handoffs easy: whoever runs the app next doesn’t need to worry about the underlying server configuration, only a Docker-compatible environment.
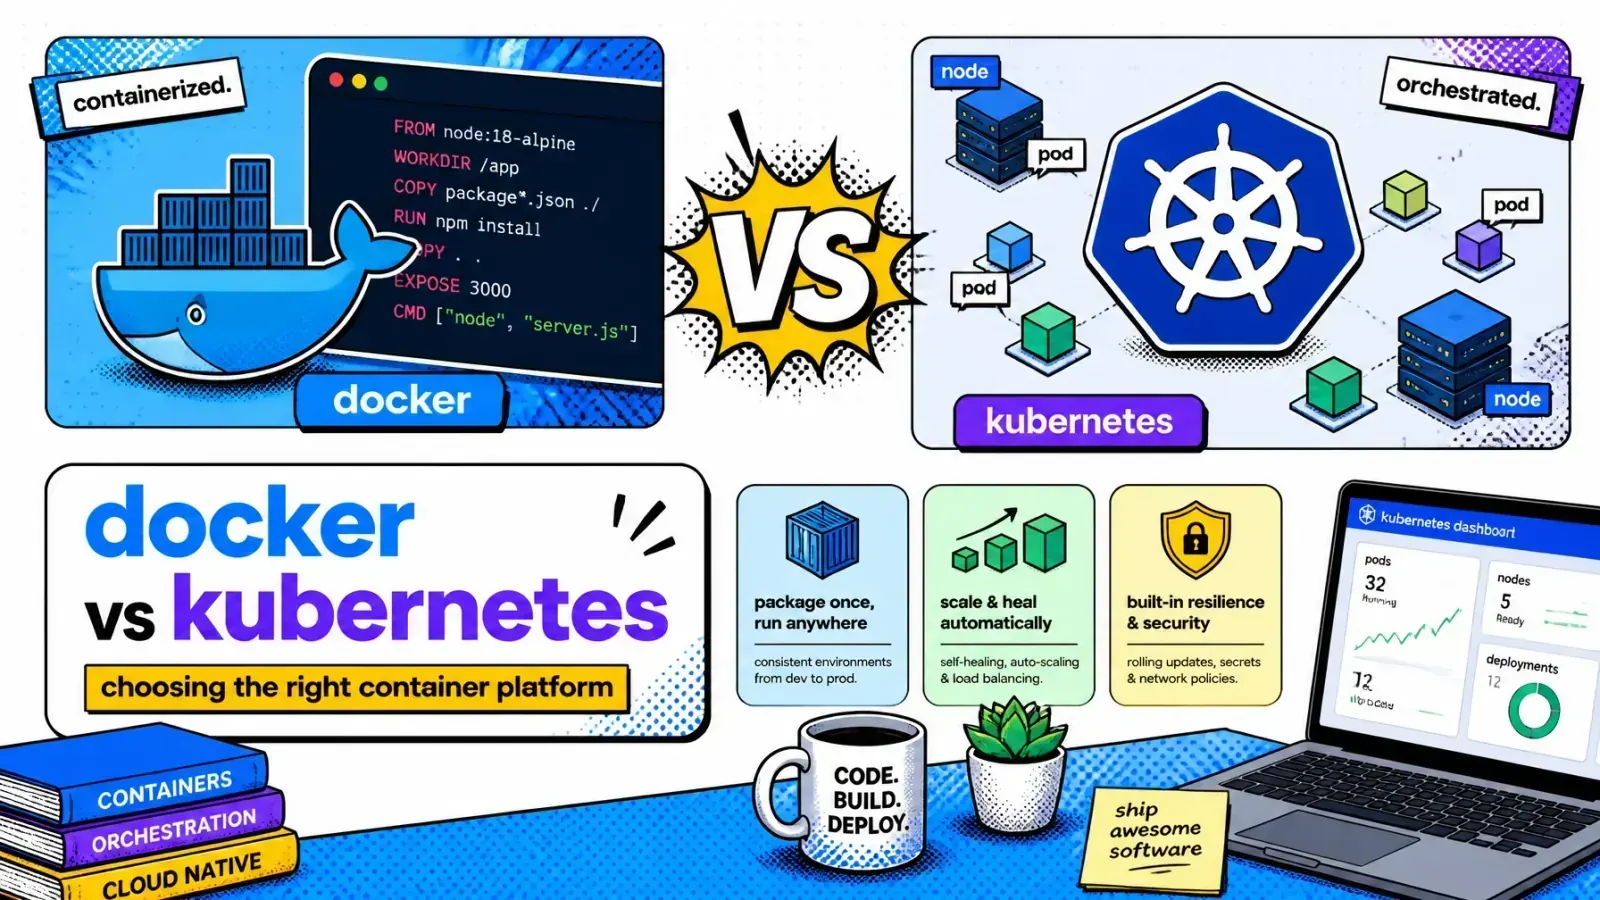
Coolify deliberately stays at the single-host Docker layer rather than orchestrating clusters. If you’re weighing that trade-off, see Docker vs Kubernetes: containers vs orchestration.

Setting up your control plane
Getting started is simple. Coolify’s documented minimum is 2 CPU cores, 2 GB of RAM and 10 GB of free disk, plus extra space for Docker images, volumes and backups. I’d budget 4 GB of RAM if you plan to run more than a couple of apps alongside it.
I usually recommend Ubuntu for the operating system. Once you have your server, run the single installation command from the Coolify documentation.
# the only command you need to bootstrap Coolify
curl -fsSL https://cdn.coollabs.io/coolify/install.sh | sudo bash
What the installer does
The script installs Docker, sets up the Traefik reverse proxy and launches the Coolify dashboard. Within minutes, you can log in to your own private hosting panel.
From there, connect your GitHub or GitLab account. Coolify listens for webhooks and triggers a new build whenever you push code to your main branch.
The same feedback loop
It feels magical. You get the same feedback loop as the big-name platforms: build logs in real time and a preview URL for your feature branches. And you do it all on a cheap VPS.
Handling databases and state
Managing databases is one of the hardest parts of self-hosting. Nobody wants to hand-configure Postgres clusters or worry about backing up Redis instances. Coolify solves this with “one-click” services.
One-click services
You can spin up a Postgres, MySQL, MongoDB or Redis instance in seconds. Coolify generates secure credentials and gives you the connection strings.
It also handles persistent volumes, so your data stays safe when your container restarts or you update the image.
Volumes are not backups
Persistent volumes are not a backup strategy, though. Schedule automated dumps and keep them off-box, because replication and backup solve different failure modes.
Split out the database as you grow
For a SaaS, I usually recommend a dedicated server for your databases once traffic climbs. Coolify supports multi-server setups: one server acts as your control plane and other servers act as worker nodes where your apps and databases live.
(I cover that scaling pattern in more depth in scaling SaaS with advanced Coolify deployment strategies.)
Security and SSL by default
Security shouldn’t be an afterthought. Setting up SSL with Let’s Encrypt used to mean cron jobs and manual certificates. With Coolify and Traefik, it is fully automated.
Certificates without a terminal
When you point a domain to your server and add it to your app configuration, Coolify requests and installs an SSL certificate. It also handles renewal, so your SaaS is always served over HTTPS without you touching a terminal.
Secrets out of git
Coolify also helps you manage environment variables securely. You don’t need to hardcode secrets in your git repository. Define them in the dashboard and they are injected into your containers at runtime.
This is a standard best practice that many developers skip when they are in a rush. Need a strong value for one of those secrets? My secret generator makes one in your browser.
A production deployment workflow
If you want to do this the “pro” way, here is how I structure my deployments.
Use a Dockerfile
Coolify can detect many frameworks like Laravel or Node.js, but I always recommend writing your own Dockerfile. It gives you total control over the build.
Use multi-stage builds to shrink your image. That makes deployments faster and saves disk space.
Use Nixpacks
If you don’t want to write a Dockerfile, Coolify supports Nixpacks. It is a tool built by Railway that inspects your code and builds an optimized container image, with detection for 20-plus languages.
Railway itself has since moved to a successor called Railpack, but Nixpacks remains a solid zero-config option inside Coolify. Coolify also offers Railpack as a beta build pack for Git-based apps.
Set up health checks
Never deploy without a health check. You want your app to actually respond before the reverse proxy sends traffic to it.
Coolify lets you define a health check endpoint. If the check fails, the old container keeps running and the new one isn’t promoted. This is the foundation of zero-downtime deployments.
Without a health check
With a health check

Is self-hosting right for you?
Self-hosting isn’t for everyone. If you are a solo developer with no interest in learning how a server works, paying the “convenience tax” might be worth it.
Your time is valuable. If a managed platform saves you five hours of frustration a month, it might pay for itself. My self-hosting cost calculator puts those hours next to the server bill.
Owning your stack
If you are building a real business, though, you need to understand your stack. Owning your infrastructure is about more than saving money. It is about autonomy: no matter what happens to a specific provider, you can move your business elsewhere quickly.
Whether the app is an e-commerce engine on Shopify or a custom Laravel application, the goal is the same: high performance and long-term stability.
Key takeaways
- Start with a clean VPS and install Coolify using the official script.
- Containerize your application with a Dockerfile for full control, or use Nixpacks for zero config.
- Use one-click services for your databases and keep automated backups off the server.
- Set up your domain and let Coolify handle the SSL certificates.
- Add health checks so updates never take the app down.
When you stop worrying about the “how” of deployment, you can spend more time on the “what” of your product. If you want to move your SaaS onto Coolify without losing a weekend to it, here’s how I help teams set up self-hosted deployments, or tell me about it directly.
What is the one thing stopping you from moving your SaaS to a self-hosted setup today?