You’ve finally moved your apps off that messy manual VPS and into Coolify. It feels great. Everything is in one place. But then the traffic starts to spike. You realize that hosting your production database, three web apps, and a memory-heavy build process on a single $10 DigitalOcean droplet is a recipe for disaster.
The “single server trap” is real. It’s fine for a side project or a quick MVP. But when you’re building for real customers, you need more than just a dashboard. You need a strategy. You’re worried about what happens when that one server hits 100% CPU or when a simple deployment takes your whole site down for five minutes.
I’ve spent the last decade scaling web applications and building custom solutions at Ansezz. I’ve seen self-hosted setups crumble under pressure because they lacked the right architecture. The good news is that Coolify is more than capable of handling high-scale workloads. You just need to know how to pull the right levers.
In this guide, I’m going to show you how to move from a basic setup to a production-grade infrastructure using advanced Coolify strategies. We’re talking multi-server nodes, zero-downtime deployments, and offloading the heavy lifting so your apps stay snappy.
Moving beyond the single-server monolith
The biggest mistake I see engineers make is keeping everything on one node. When your build process starts, it eats up CPU and RAM. Your web app starts to lag. Your database gets starved for resources.
The solution is to decouple your “control plane” from your “workloads.”
In a professional setup, you want one small server dedicated solely to running the Coolify instance itself. This is your mission control. Then, you add separate “app servers” where your actual containers live.
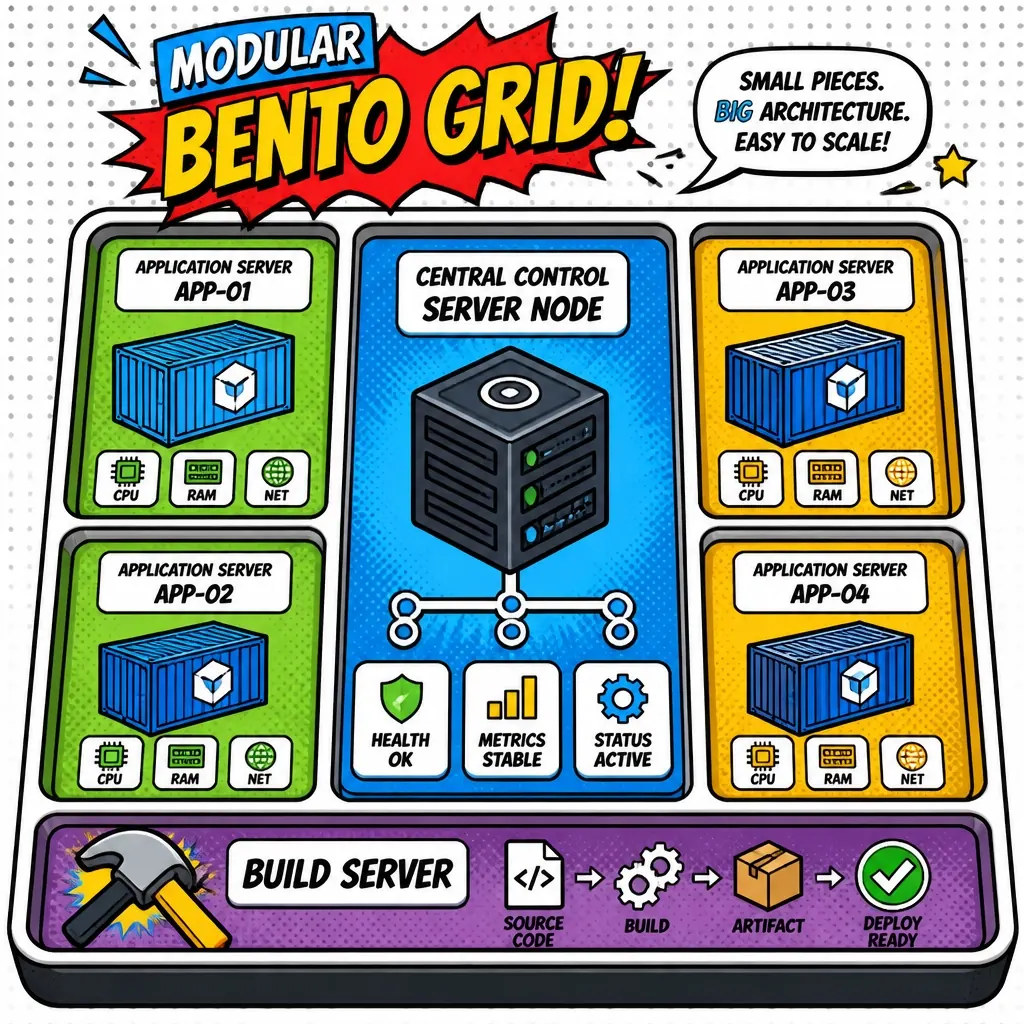
To do this in Coolify, you go to the Servers tab and add a new server via SSH. Once it’s connected, you can choose which server a specific resource should be deployed to. This gives you instant horizontal scalability. If one server is getting full, you just spin up another one, add it to Coolify, and point your next app there.
This separation of concerns is a core pillar of what we do when building custom web applications. It prevents a single point of failure from taking down your entire digital presence.
The art of the zero-downtime deploy
Nothing kills user trust faster than a “502 Bad Gateway” every time you push a small CSS fix. By default, many self-hosted setups just kill the old container and start the new one. There’s a gap. That gap is where your users get frustrated.
Coolify handles this beautifully with “rolling updates,” but it only works if you tell it how to check the health of your app.
If you don’t configure health checks, Traefik (the reverse proxy Coolify uses) might start sending traffic to your new container before the app inside it has even finished booting up.
Here is the workflow I use to ensure 100% uptime:
- Create a health endpoint. In your Laravel, Vue, or Node app, create a simple route like
/healthz. It should return a 200 status code only when the app is ready to serve traffic. - Configure Coolify. In your application settings, go to the Health Check section. Set the path to
/healthzand the interval to something like 5 seconds. - The rollout. When you hit deploy, Coolify starts the new container. Traefik waits until that
/healthzendpoint returns a success before it switches the traffic over. The old container is only killed after the new one is confirmed live.
This is a non-negotiable step for any SaaS or e-commerce store where every second of downtime equals lost revenue.
Offloading the heavy lifting
If you’re building a modern app with Docker, the build process can be incredibly resource-intensive. Compiling assets, installing npm packages, and building images can spike your server usage to the moon.
If you’re running that build on the same server that’s trying to serve your customers, they’re going to feel the slowdown.
Advanced users leverage a dedicated build server.
You can designate a high-performance, high-CPU server in Coolify specifically for builds. When you trigger a deployment, Coolify pushes the code to the build server, creates the image there, and then pushes the finished image to your production app server.
Your production server never feels a thing. It just gets a fresh, ready-to-run image.
What about the database?
While Coolify makes it easy to click “New Database,” running your production Postgres or MySQL inside a Docker container on the same server as your app is risky.
For production workloads, I almost always recommend using an external managed database like AWS RDS or Google Cloud SQL. It handles backups, point-in-time recovery, and scaling automatically.
In Coolify, you simply provide the connection string as an environment variable. This keeps your state (the data) separate from your compute (the app). If your app server goes up in flames, your data is safe on a managed platform.
Automation at scale with CI/CD
Manual deployments are for hobbyists. For a professional workflow, you want your code to move from GitHub to production without you touching a single button in the Coolify UI.
I prefer using GitHub Actions for this. While Coolify has a great GitHub App integration, using Actions gives you more control. You can run your test suite, lint your code, and only if everything passes, trigger the Coolify deployment via a webhook.
Here is a snippet of how I usually structure a simple deployment step in a .github/workflows/deploy.yml file:
name: deploy to production
on:
  push:
    branches:
      - main

jobs:
  deploy:
    runs-on: ubuntu-latest
    steps:
      - name: trigger coolify webhook
        run: |
          curl -X GET "${{ secrets.COOLIFY_WEBHOOK_URL }}"
It’s simple, direct, and ensures that broken code never reaches your servers. It keeps your development cycle clean and your mental health intact.
Advanced configuration tips
Managing a multi-server setup requires a bit of extra care. Here are a few practical takeaways to keep in your back pocket:
- Resource limits. Always set CPU and RAM limits in Coolify for each application. This prevents a single “leaky” container from hogging all the resources and crashing the whole server.
- External backups. If you do choose to run databases inside Coolify, use the S3-compatible backup feature. I personally use Backblaze B2 or Cloudflare R2 for this. Never rely on local backups alone.
- Docker pruning. Coolify is good at cleaning up, but it’s worth checking your disk space regularly. Large images can eat up your SSD fast. Set up a cron job or use Coolify’s built-in cleanup settings.
- Monitoring. Use a tool like Better Stack or GlitchTip to monitor your endpoints. Coolify tells you if the container is running, but an external monitor tells you if a human can actually use the site.
Scaling is a journey
Scaling isn’t about having the most expensive hardware. It’s about having a system that is predictable and resilient. Coolify gives us the tools to act like a giant tech company without the massive overhead of a dedicated DevOps team.
By splitting your servers, mastering health checks, and automating your builds, you move from “hoping it works” to “knowing it scales.”
I’ve helped dozens of founders and tech leads navigate these waters. Whether you’re building a Shopify app or a complex Laravel SaaS, the principles are the same. Keep your compute separate from your data, and your builds separate from your traffic.
Have you ever had a deployment go sideways because a build process crashed your production server? What’s your current “war story” from the world of self-hosting? Drop me a line.